Guest Post-A Client's Kitchen..Design tips to do it yourself!
Let's give a big welcome today to Lori May, from Lori May Interiors. She's going to share a great post on a client's kitchen design today.
Hi everyone, I'm so happy to be back here at Jen's blog today. I've been working on a kitchen project for a new client and I thought I'd share my design process with you. These are steps that you can take to create your own dream home.
First, let's start with the inspiration photo. My client has held on to this photo for a long time, in hopes of creating her own dream kitchen. I know that many of you feel the same way about photos you have collected. My number one tip to all of you is to collect lots of photos. Whether you use pinterest, a paper file folder or a combination of both, there is nothing more helpful than collecting photos of rooms that you love. You may not even know why you love it, but keep it anyway. Once you have several photos, take a look at them. Pick out the similarities between the photos. You may find things you never knew that you liked.
For example, I am in the early stages of redecorating my own master bedroom. After reviewing some of my photos on my bedroom board on pinterest, I realized that every photo had matching nightstands. Before reviewing those photos, I would have told you I was open to different styles of nightstands. You may also be surprised at what you find. Collect your favorite photos and study them. Once you have done this you are ready to move on to the next step.

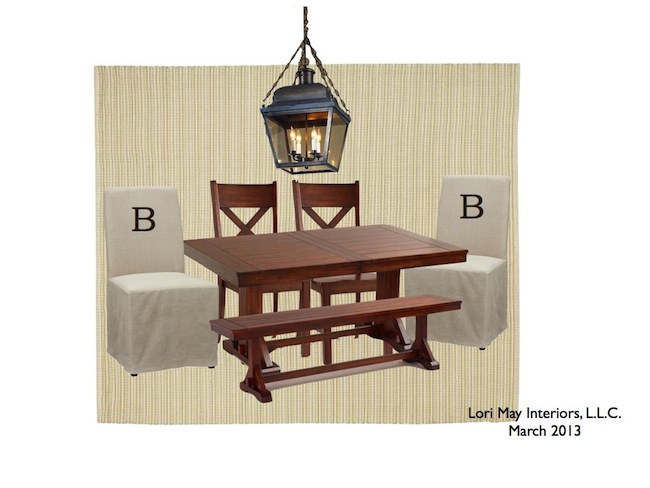
Once I determine the style I am trying create, I move on to the design board. Let's face it, as a designer, I am a very visual person and I have found that many of my clients are as well. Here you can see the furniture, lighting and rug options I suggested to my client. She already owned the wooden pieces. I added the rug and monogramed slipcovered chairs to soften and personalize the look. The lantern brings us back to the inspiration photo that my client loves. (Hint: You're design board does not have to be created on the computer. You can easily use a small piece of poster board. Print out your photos or use the ones you have cut out of your favorite magazines and glue them on. This could also be a great way to get the whole family involved!)


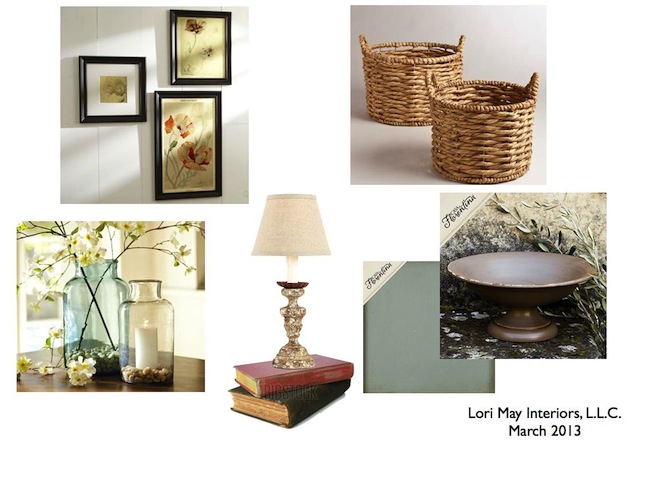
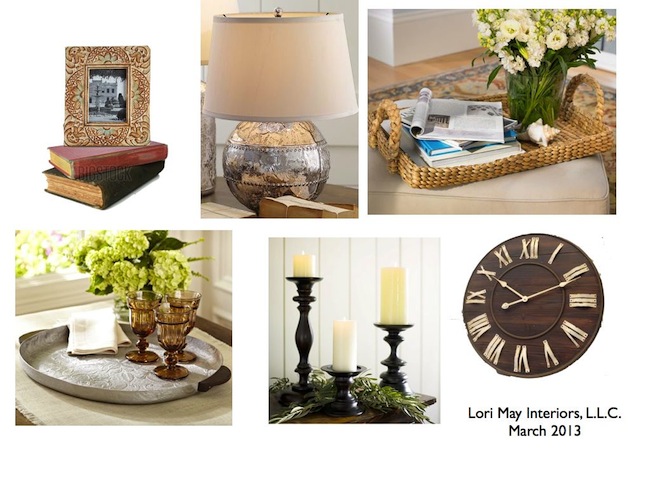
Now, it's time to add the fun part. Color and texture. Color can come from accessories, art and window treatments. In a kitchen, this can sometimes be a challenge, because there are so many hard lines, such as cabinetry, counters, chairs and tables. There are also all of those appliances! Remember to add accessories just as you would in other rooms of your home. I love to use baskets and woven trays in a kitchen. They add wonderful texture. Trays can also group together like items or provide a space for keys and mail that are generally thrown on the counter. Look back to your inspiration photos during this step as well.
Lastly, now that you have the finished product, remember to keep it with you. How many times have you been out and about and found the "perfect" lamp, but once you get it home, it's not quite the look you were going for? Print off your design boards, take any fabric or paint swatches and create a file that you keep in your car. I will often take a picture of my design boards with my iPhone, so that I always have them with me. This will help you stay focused and make better purchases that you will love for a long time.
Let's review. 1. Collect your inspiration photos. 2. Study the photos and find your likes and dislikes. 3. Take all of your favorites and create your own design board. 3. Keep your design boards with you. 4. Create your dream home!
Stay tuned. I'll be showing before and afters of this kitchen on the blog soon!
Thanks for having me Jen!


