Garden Trellis Tutorial
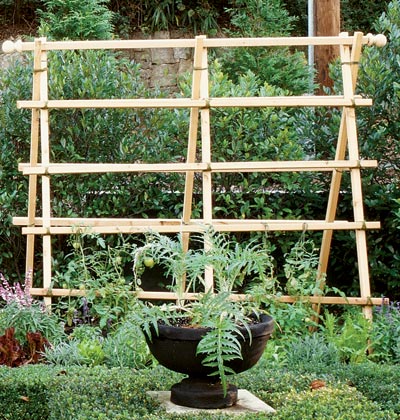
Summer is on it's way, so I've got gardening on my mind!! I recently planted my sweet peas, and they need a trellis to climb up. A trellis in your garden can be both functional AND fun! There is nothing saying it has to be a boring wire one from the hardware store. Here are a few fun ways that others have used a trellis in their garden.

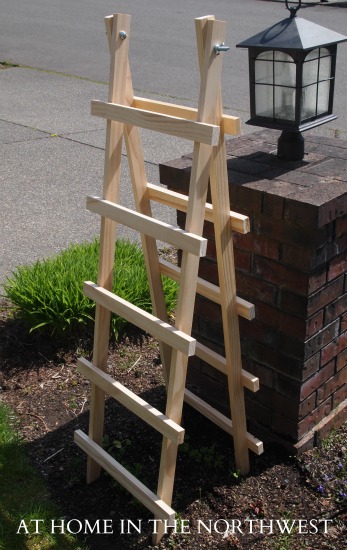
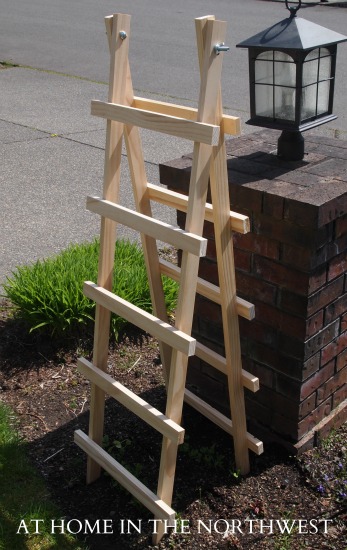
My mom found a trellis at a gardening store for $40 and she was certain we could make one for less. Turns out she was right! For roughly $10, we constructed this trellis...
Here are my sweet peas today... In a few months, they will be growing right up the trellis.
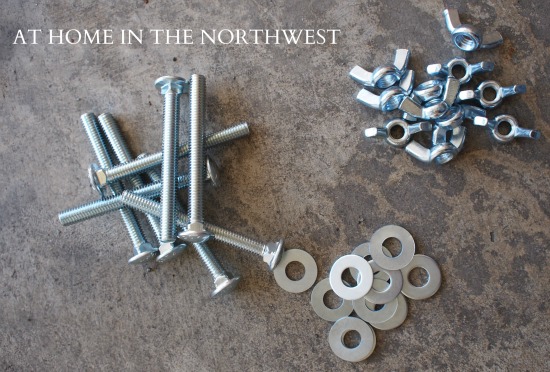
Here are the supplies needed to build your own trellis:
1x2s and 2x2s * nuts/bolts/washer * nail gun * drill
Two of the trellises were built using both 1x2s and 2x2s and the last two were constructed using just 1x2s. I prefer using 1x2s for the entire trellis.
OK - time to start building! First, decide how tall you want your trellis. Mine were about 5 feet tall. If you making the thicker trellis, cut 4 of your 2x2s to 5 feet tall. If you would prefer to make a thinner trellis (which is easier to work with, in my opinion), then use 1x2s.
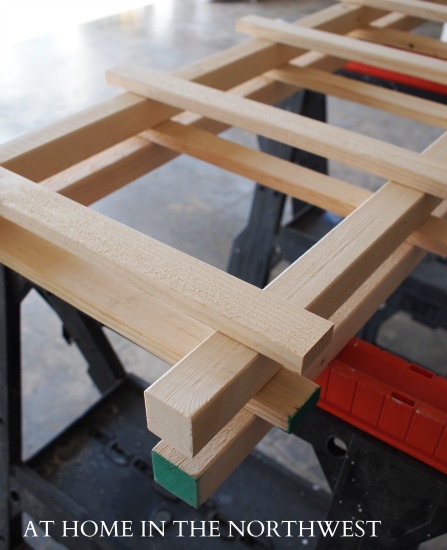
Lay two of your support pieces on a table or saw horses. Cut 10 pieces of 1x2 that are approximately 18" long for the cross pieces. You will use 5 pieces for each side of the trellis. Lay 5 pieces, evenly spaced, across the support pieces that are laying on the saw horses. Mine were approximately 8" apart (leave a little space below the bottom rung in case you want to push the trellis down in the dirt a bit for more support. In the picture above, the three trellises on the right have a bit more space than the first trellis).
After you are comfortable with the spacing of the wood, use your nail gun to nail the wood down. Repeat this step for the back side of the trellis. Using your first section as a template, lay the second side on top of the first side. This will ensure that the pieces are spaced the same. Nail the pieces into place.
After your two sides are finished, you will want to stand them up and drill a hole through the top for the nuts and bolts.
Once this is done, your trellis is complete! You can stain it, paint it, or simply leave it raw wood. Place it in your garden and enjoy!
Jen
linking up to:
shabby creek cottage, the shabby nest , at the picket fence, my repurposed life, chic on a shoestring decorating, house of hepworths, funky junk interiors, tatertots and jello, be different act normal, six sisters stuff, stylish once again, i heart naptime, the girl creative, nifty thrifty things, i should be mopping the floor, sisters of the wild west, the sweet talk shop, between naps on the porch, the southern institute, making the world cuter, craft o maniac, home stories a to z, my uncommon slice of suburbia, todays creative blog, tip junkie, how to nest for less, blue cricket design, the shady porch, savvy southern style, romance on a dime, the 36th avenue, somewhat simple, house of hepworths, aka design


