Shelf Tutorial
A good friend of mine was in need of a solution for foyer. There was no place for guests to put their stuff, so coats and bags ended up in a pile next to the couch. I was certain I could help her come up with a solution! So I started doing some measuring and research and came across this on Pinterest. The Idea Room made this shelf for her bathroom. Isn't it darling!

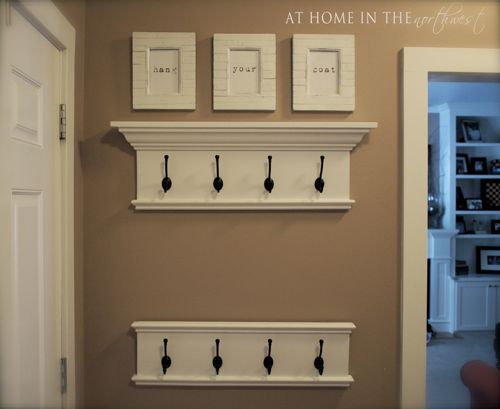
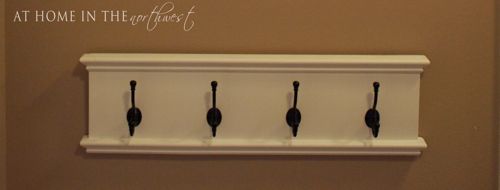
With a few modifications, something like this would fit perfectly behind my friend's front door! After a bit more measuring and a trip to Lowes, I made this...
I've had a lot of people inquiring about making one for themselves, so I thought it was time to write a tutorial!
Supply List for Top Shelf
1 x 12 - back of shelf (mine was 32" long)
1 x 4 - top of shelf (use a 1x6 for a deeper shelf)
3 and 5/8 inch crown molding
1 and 1/8 inch decorative molding
miter saw
nail gun
caulk and wood filler
masking tape
primer/paint or stain
hooks
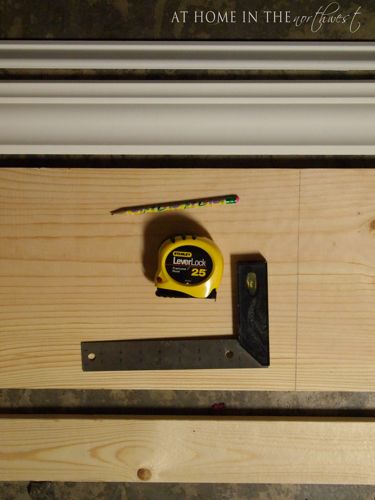
1. Cut the 1x12 to the desired length (mine was 32" long).
2. Cut crown molding to fit length of your board (Note: this was my first time cutting crown molding so I am not an expert in this field. I viewed a few You Tube videos to learn the best way to accomplish this task). The back of the crown will need to be the same length as the board (i.e. 32") and the crown will angle out at the corners to be longer than the back board.
3. Cut side pieces out of the crown molding. Only one edge of the crown will be angled (to connect with the front piece of crown, making a corner). The back will be flat, as it will sit flush against the wall. The entire cutting process may take awhile if you are new at this like me. Look at my pile of mis-cut pieces!
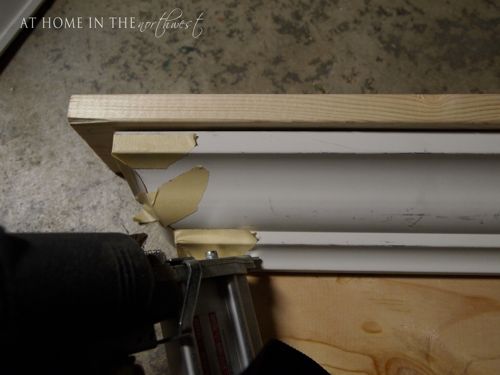
 4. I used masking tape to hold my pieces of molding together. This allowed me to make sure the corners matched up nicely (or at least close enough!). I'm not sure that a true craftsman would agree with my use of masking tape, but it was effective for me, since I was working alone!
5. When you are finished cutting the crown molding, cut your 1x4 for the top shelf (or 1x6 if you are creating a deeper shelf). You will want 1" to 2" longer than the crown molding. Attach the 1x4 to the top of your board with some wood glue and your nail gun. Then attach the molding (this is where I loved using the masking tape. Everything stayed right in place until I secured it with a nail!)
6. Cut molding for the bottom of the shelf the same way you cut the crown. Tape corners together. Then use the glue and nail gun to attach it to the bottom edge of the shelf.
7. Caulk along the edges of the molding. And fill nails holes and corners with wood filler or putty. You will most likely have to sand it smooth and re-putty a time or two until the finish is smooth and flawless.
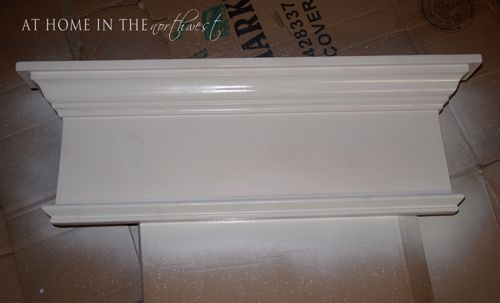
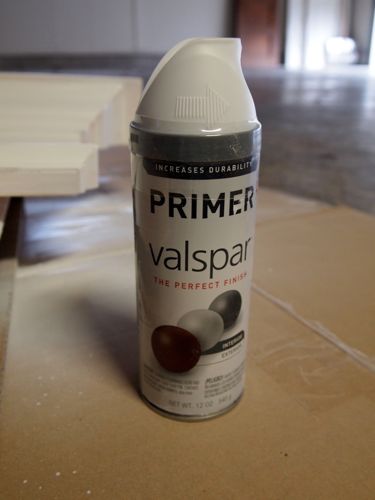
8. Prime the shelf and then paint to desired color!
This is my new favorite spray paint from Lowes! It goes on evenly, doesn't spray so hard that it runs on your project AND it doesn't drip out of the sprayer and all over your hands.
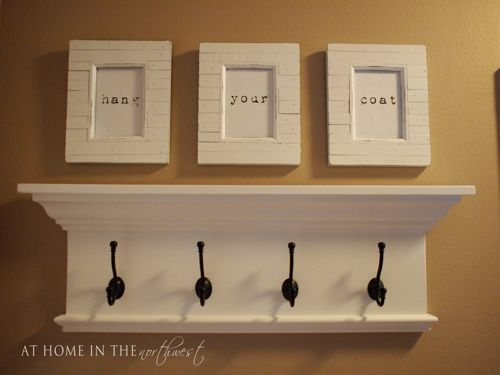
9. After the paint has dried, attach the hooks. Space evenly and screw them into the wood.
10. Attach D rings to the back and hang the shelf up on your wall.
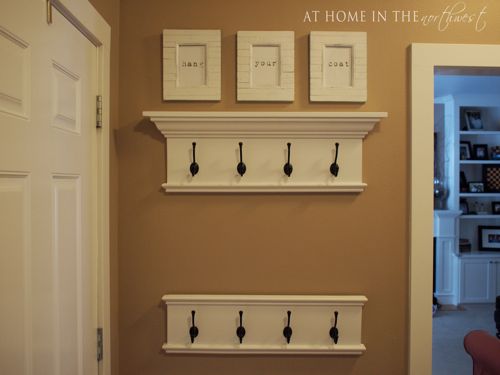
For the lower shelf, I simply used the smaller decorative molding on the top AND bottom edges of the shelf.
The set of three picture frames are from Michaels. They were black ..... but thanks to more Valspar white spray paint, they now match the new shelves perfectly!! I added the 'hang your coat' until my friend had a chance to put photo's in the frames.
And one last look at the finished product!
I was at my friends house for a party a few days ago, and I must say, those hooks can hold a LOT of coats and purses! No more coats on the floor!
Jen
linking up to:
2805, feathered nest, kitchen fun with my 3 sons, shabby nest, at the picket fence, common ground, stuff and nonsense, my repurposed life, it's a hodgepodge life, chic on a shoestring decorating, creation corner, fun to craft, a glimpse inside, naptime crafters, here comes the sun, raising oranges, funky junk interiors, tatertots and jello, nutmeg place, craft envy, be different act normal, six sisters stuff, the not so functional housewife, tots and me, stylish once again, i heart naptime, sisters of the wild west, flamingo toes, nifty thrifty things, twigg studios, eye heart, my 1929 charmer, i should be mopping the floor, the sweet talk shop, the southern institute, the girl creative, create with joy, a simply klassic home, making the world cuter, diy home sweet home, sumo's sweet stuff, craft o maniac, embellishing life, sew can do, between naps on the porch, skip to my lou, a pinch of joy, sassafrass salvation, northern cottage, knick of time interiors, home stories a to z, coastal charm, southern product queen, today's creative blog, tip junkie, vintage wanna bee, hope studios, a stroll thru life, new nostalia, the blackberry vine, our delightful home, romance on a dime, adventures of a diy mom, my uncommon slice of suburbia, southern product queen, not just a housewife, laugh love and craft, uncommon designs, chatty chics, my girlish whims, faded charm cottage, michele raven designs, domestically speaking, southern lovely, the shady porch, savvy southern style, mrs. hines class, the thrifty home, trendy treehouse, polkadots on parade, creations by kara, southern lovely, sew much ado, take it from me, beyond the picket fence, the shabby creek cottage, thrifty decorating, saved by love creations, house of hepworths, how to nest for less, the brambleberry cottage, the 36th avenue, somewhat simple, these peas taste funny, happy hour projects, miss mustard seed, nutmeg place, days of chalk and chocolate, wayward girls crafts, centsational girl

